Guide
Get Started Get Started Access Now

Get exclusive resources, gig management tips, and tools straight to your inbox.
A Guide To
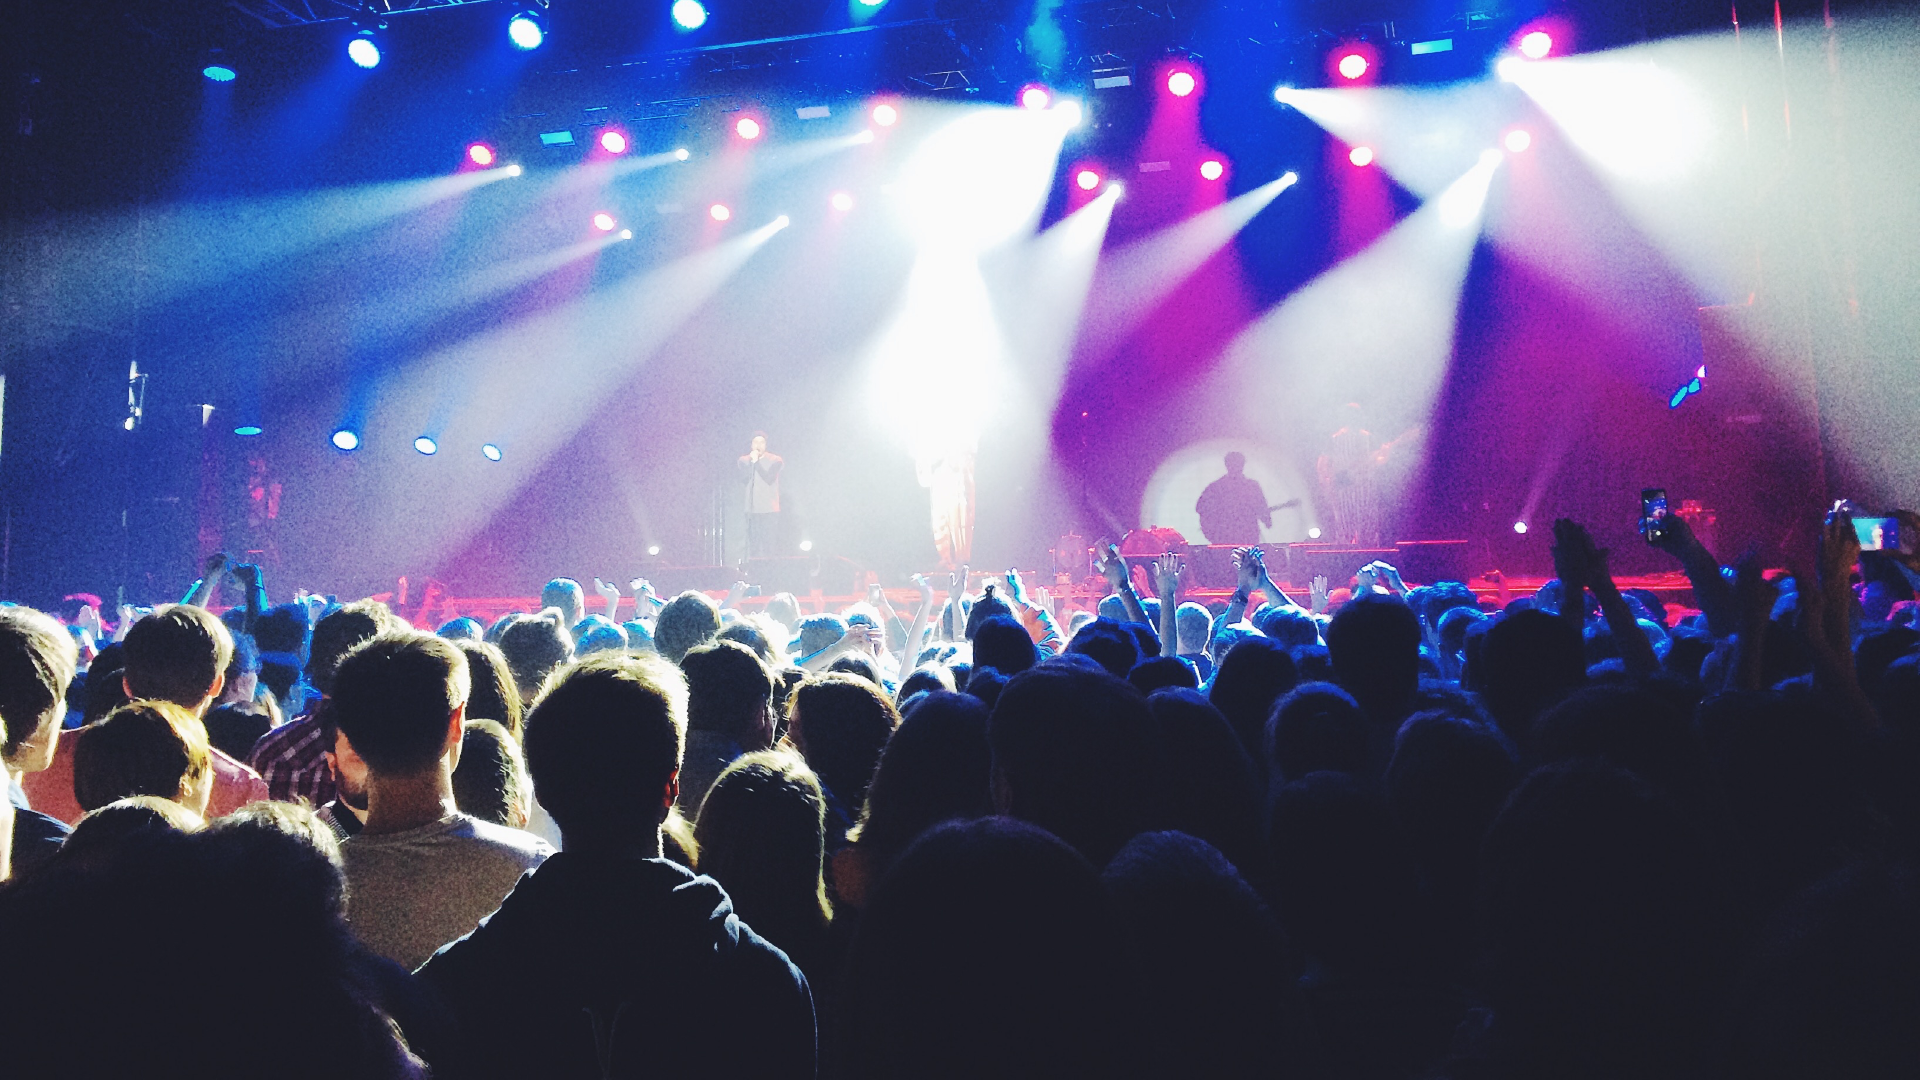
A clean, clear stage plot is one of the most important documents you can give a venue or sound engineer. It shows exactly where each band member is positioned on stage, what equipment you’re using, and how your setup works.
A good stage plot doesn’t just make soundcheck smoother, it makes you look professional and prepared long before you arrive at the venue.
In this guide, we’ll walk you through how to create a stage plot using our free Canva template and how to upload it into Stage Portal so it can be attached to your rider and linked directly to your gigs.
A stage plot is essential because it helps:
When paired with a well-built rider, your stage plot becomes a core part of your technical information package.
Setup time: 5–10 minutes
To build a setlist, you’ll need:
Once you're logged in, follow the steps below.
Step 1: Access the Free Stage Plot Template
Using the link below access the Free Stage Plot Template.
This will open a ready-made stage plot layout with drag-and-drop elements for:
It’s designed so even non-designers can create a clean, professional layout in minutes.
Step 2: Customise Your Stage Plot
Inside the template:
Keep it as simple and readable as possible. The goal is clarity, not decoration.
Step 3: Export Your Stage Plot as a PDF or PNG
Once your stage plot is ready, export it using:
Both formats work perfectly inside Stage Portal.
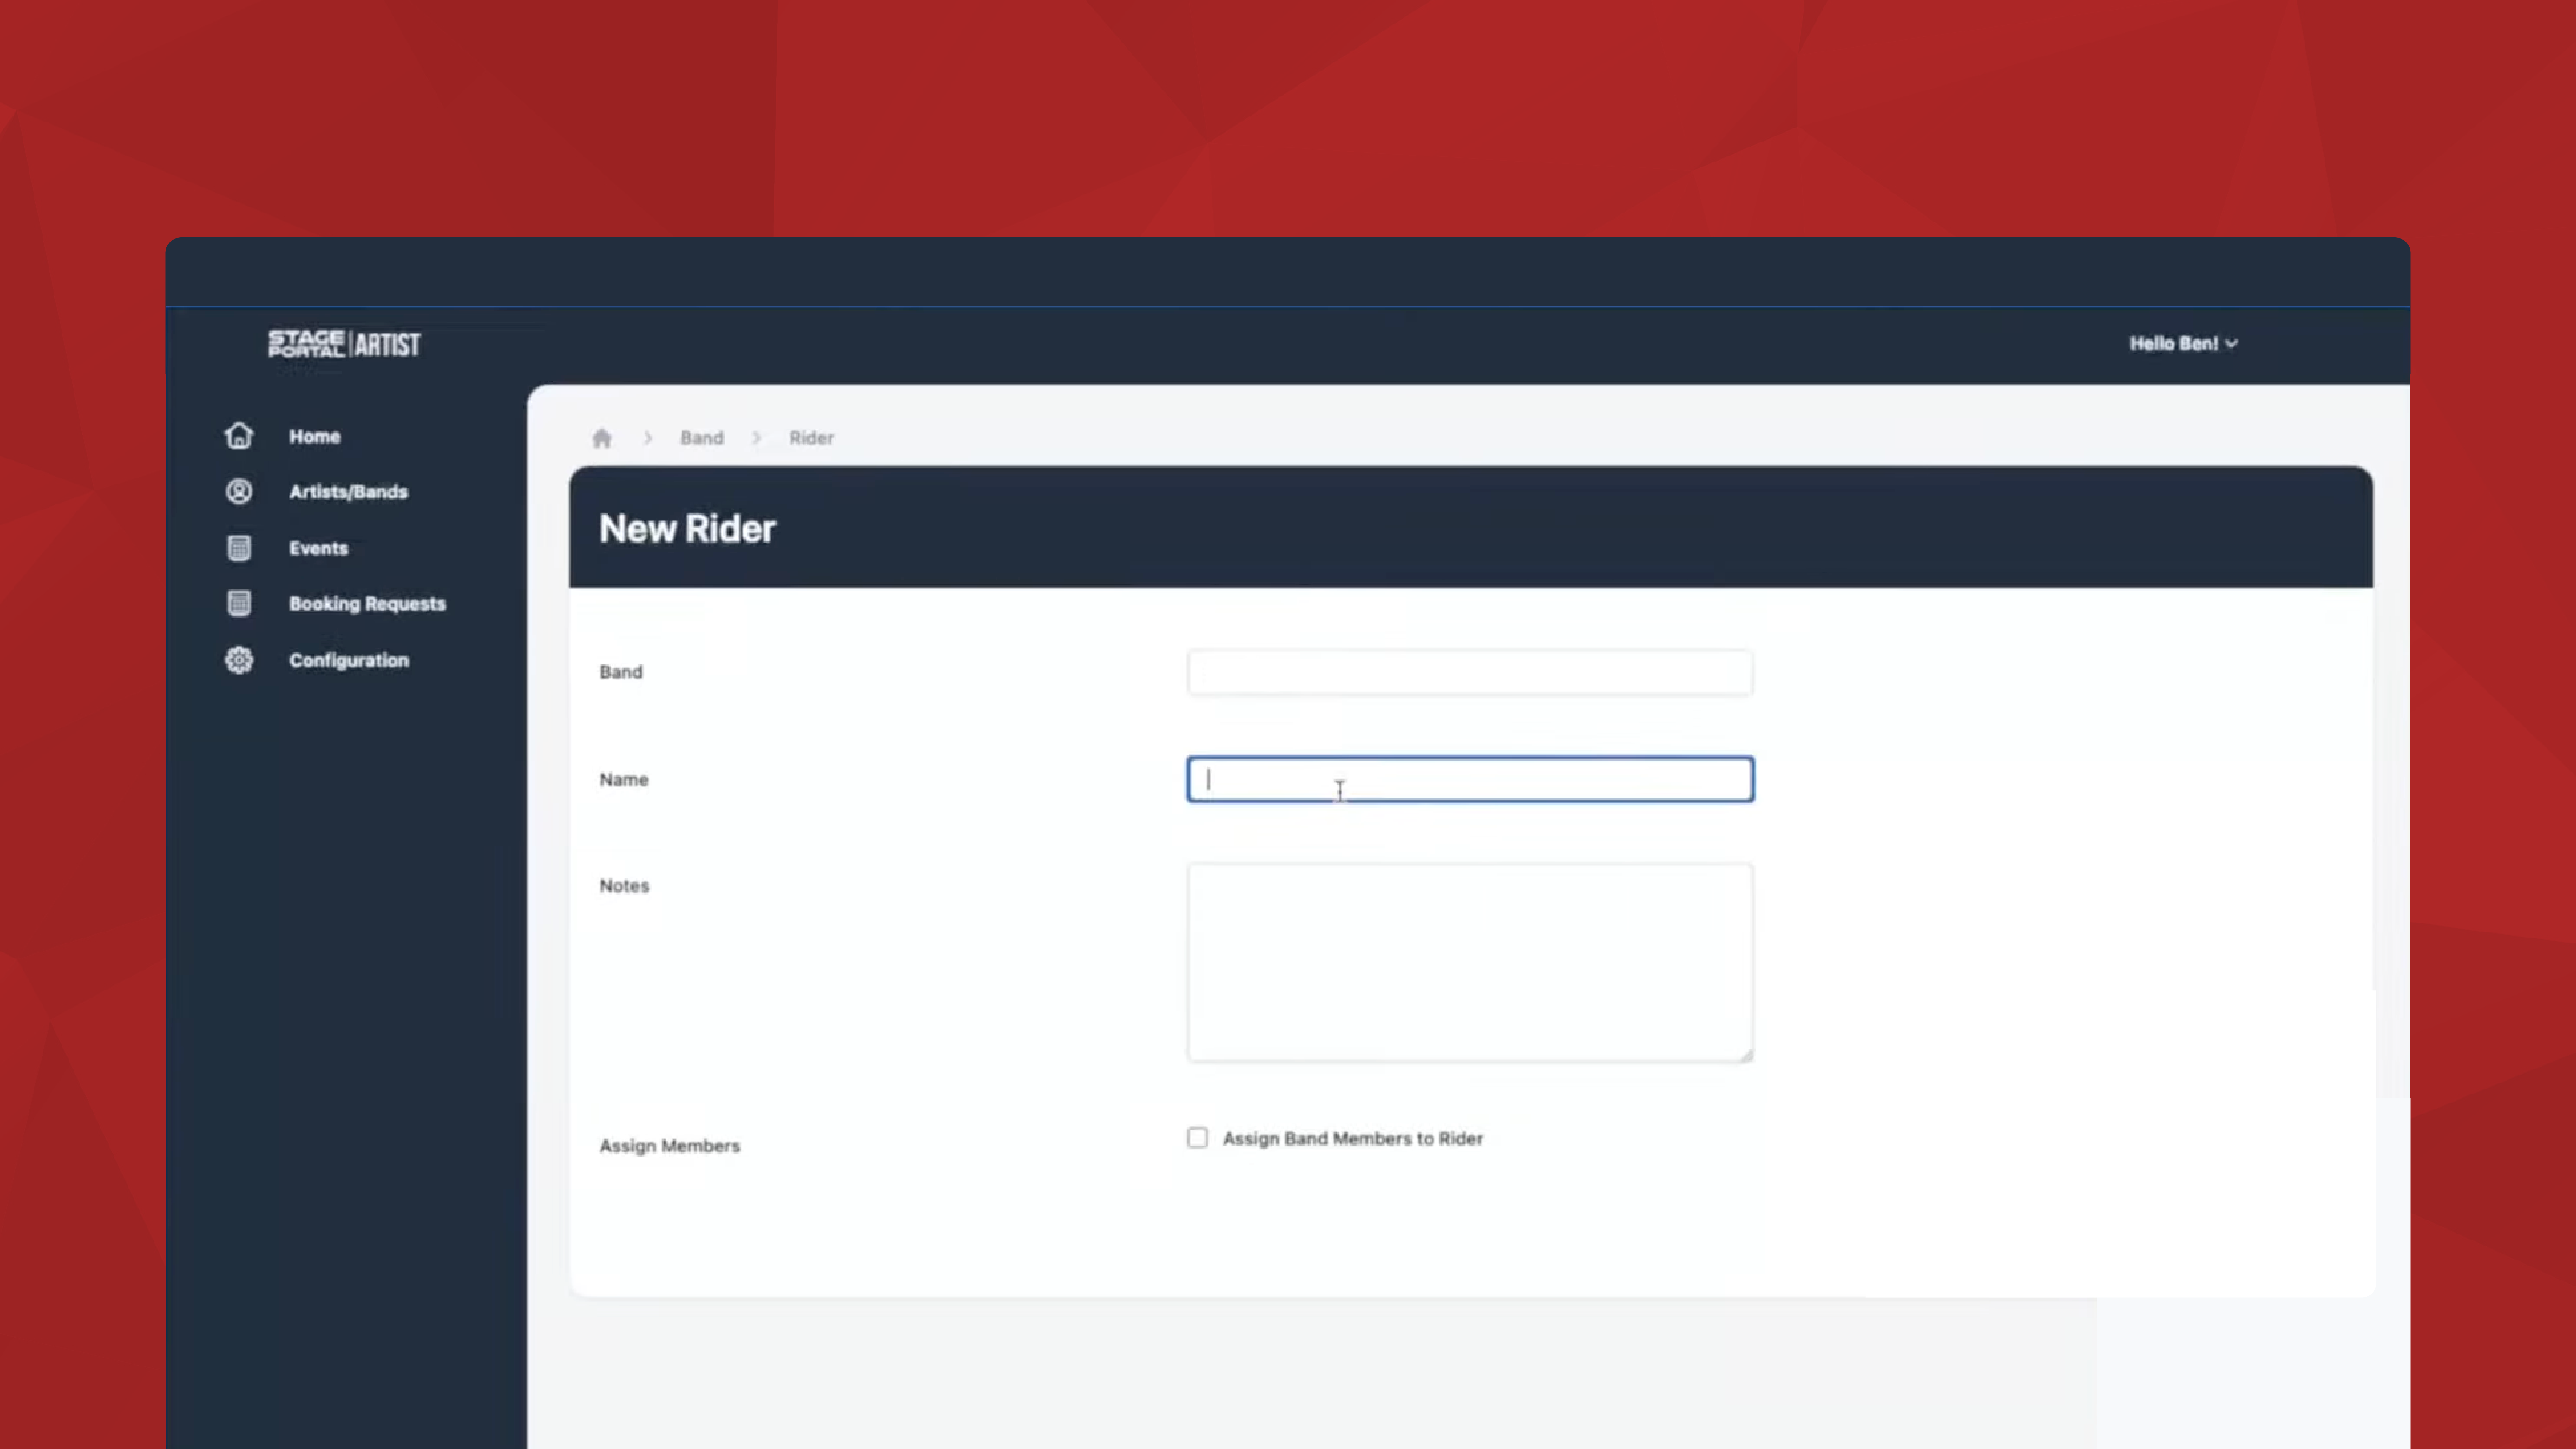
Step 1: Go to Your Rider in Stage Portal
From your artist dashboard:
If you haven’t created a rider yet, start with Create Rider — the stage plot upload option appears during setup.
Step 2: Upload Your Stage Plot File
Inside the rider editor:
Your stage plot will now appear as part of your technical information package.
Step 3: Share Your Rider and Stage Plot with Venues
Once your rider is complete, you can:
This ensures everyone can see your exact setup long before the gig.
For a full break down on how to make a pro stage plot using the template or when making your own, check out our article here.
👉 How to add your band in Stage Portal
👉 How to Add Gigs and Build Your Band Calendar in Stage Portal
👉 How to Build Your Rider in Stage Portal
👉 How to Create Your Stage Plot
👉 How to Use the Setlist Creator
Discover the latest insights.